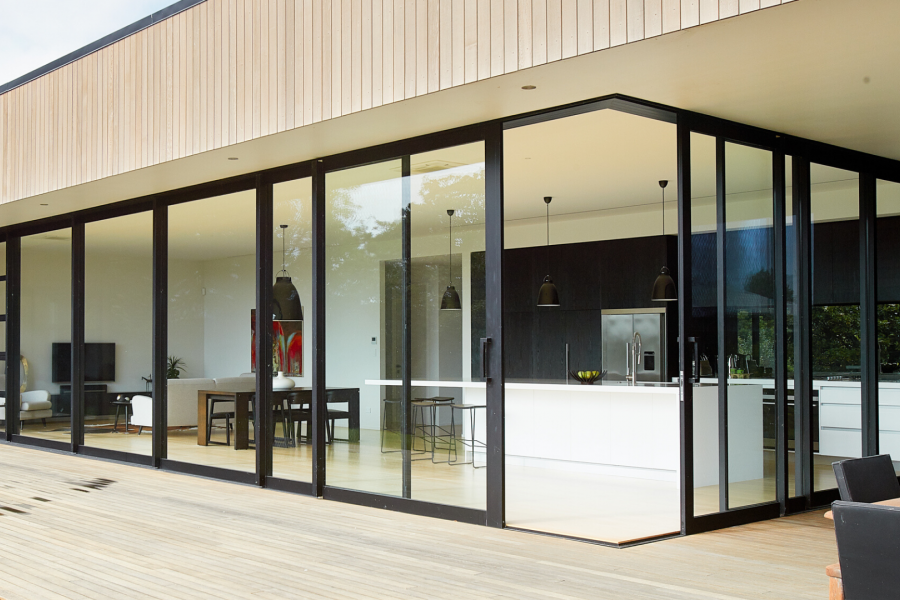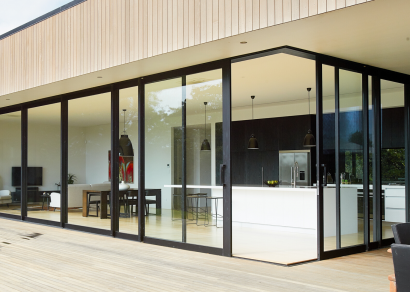
 VANTAGE Windows & Doors
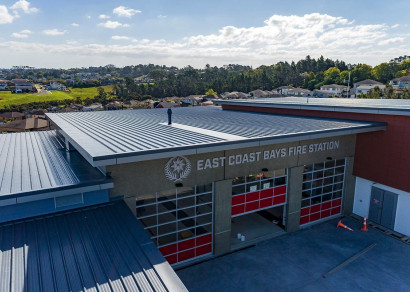
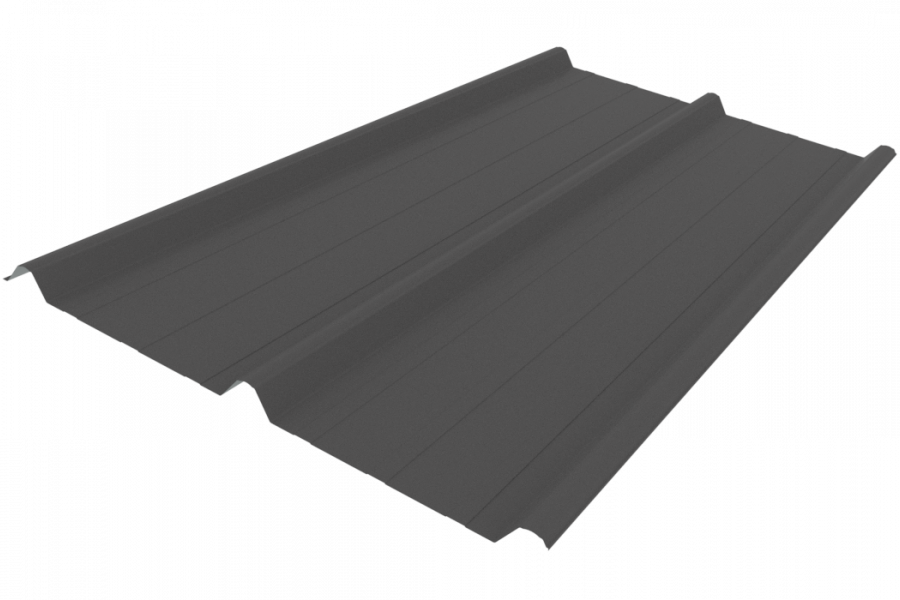
 Roofing Industries
 dormakaba
 XLam Cross Laminated Timber Panels
 SPAX
SPAX


 Bates Surfaces
 JESANI
 Aero
Aero


When it comes to designing suspended ceilings to withstand seismic loads, there are a number of solutions to consider. But which one is best? The answer is largely dependent on the nature of the project at hand. When considering seismic bracing solutions, here are some of the key things to consider:
- Differential movement between the ceiling and the building structure
- The weight of the ceiling, and therefore magnitude of seismic loads
- Design of the system to withstand horizontal seismic loads
- Transferring these loads back to the building structure through seismic bracing
There are three common methods used to seismically brace suspended ceilings:
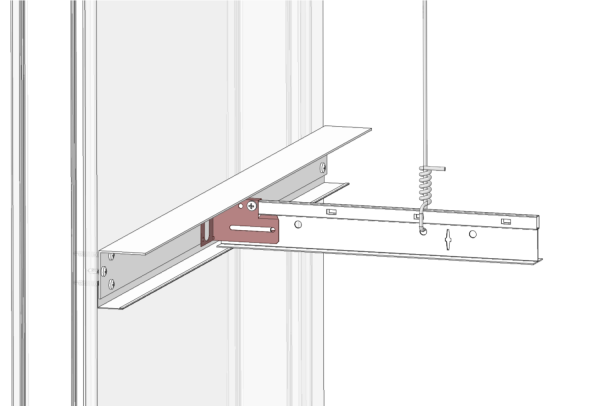
Figure 1: Typical Fixed Edge Installation
1.0 Fix - Float
The first and simplest method is to ‘Fix’ and ‘Float’ the ceiling. This means mechanically fixing two adjacent edges of the ceiling to the surrounding walls and leaving the two opposite ceiling edges free to move horizontally. The fixed edge transfers the ceiling's seismic loads into the surrounding walls which are fixed back to the building structure as shown in Figure 1 (above). The floating edge allows for the differential movement between the ceiling and the walls/structure and is typically achieved through the use of a seismic clip such as the Rondo XD17 clip (ACM7) as shown in Figure 2 (below).

Figure 2: Typical Floating Edge Installation
The Fix - Float method is the quickest and easiest method to install as minimal additional materials are required, perimeter connections and seismic clips are all that is needed.
Unfortunately, this bracing method can only be used for small or lightweight ceilings as the seismic load increases with the overall ceiling weight causing the perimeter connections to become overloaded above a certain ceiling area.
2.0 Seismic Gap
When the ceiling can no longer be fixed and floated because the perimeter connections are overloaded, the next bracing option is to use seismic gaps. Seismic gaps split the ceiling into smaller areas which can then be fixed and floated. The seismic gap itself will act as the floating edge allowing for differential movement and the opposing perimeter edges of the ceiling needs to be fixed to transfer the seismic loads back to the structure.
Seismic gaps in tile and grid ceilings can be easily achieved with the use of seismic clips including the Rondo XD35 clip (DH4) as shown in Figure 3 (see below).

Figure 3: Typical Tile Ceiling Seismic Gap
Seismic gaps in solid (typically plasterboard) ceilings can be a little more difficult as both the lining and ceiling grid must be cut to ensure enough movement is achieved. The break in the lining affects the aesthetic of the ceiling, which is not always desirable. For standard plasterboard ceilings, it can be hidden through the use of a plasterboard control joint.
The seismic gap method is again limited by the perimeter connection capacity, although the size/weight of the ceiling that can be braced in this way is up to 4x greater than the fix-float method.
3.0 Back Bracing
When perimeter fixing bracing methods are not an option, the ceiling must then be braced to the structure above. This is typically done through steel stud bracing and the Tracklok Gridlok range as shown in Figure 4 (see below).

Figure 4: Typical Back Brace
As the suspended ceiling is now rigidly braced to the floor above, it is essential that floating perimeter connections are installed on all surrounding walls to allow for differential movement, ensuring no damage in an earthquake. The size of the seismic gap is dependent on the height of the plenum (distance between the suspended ceiling to the structure above) as well as the inter-story drift of the building.
This bracing method is a lot more labour/material intensive due to the additional braces and the time associated with installing them. The advantage of this method is that essentially all ceilings, no matter the size or weight, can be braced in this way. One difficulty that can arise using this method is when there are a significant amount of services in the plenum space, which highlights the importance of considering seismic design as early as possible in the design process.
At Potter Interior Systems, we can offer the most practical and compliant solutions for your projects. If you have any questions about seismic design and ceiling bracing solutions, we welcome you to get in touch with us. We offer to facilitate seismic and PS1 designs with our engaged engineers for architects to implement compliance during the early design phases of a project to eliminate risk, and now with the increasing demand of councils requiring at consent stage.

 Most Popular
 Popular Products